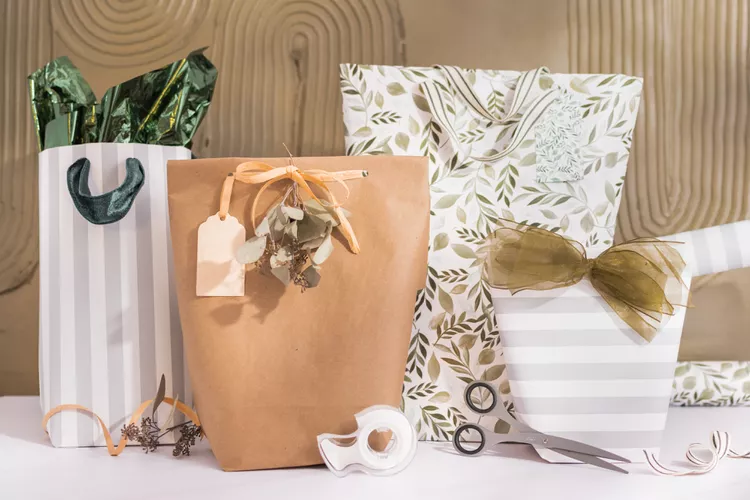
Gift bags are a accessible and swish way to present gifts, but occasionally you may not have one on hand or need a specific size or design. Fortunately, you can make a custom gift bag using wrapping paper! This system is n’t only budget-friendly but also allows you to produce a substantiated bag that matches your wrapping theme. Whether you need a bag for birthdays, leaves, or special occasions, follow this step- by- step companion to make a beautiful and functional gift bag.
Materials Needed
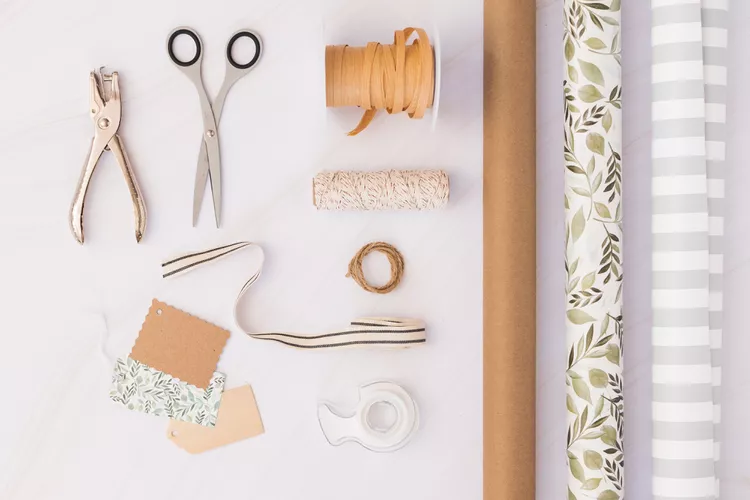
Before you start, gather the following accoutrements
- Wrapping paper of your choice
- Scissors
- Tape (double-sided or regular)
- Ruler
- Hole punch (optional)
- Ribbon or string (optional)
- Tissue paper (optional, for decoration)
- Glue (for additional reinforcement)
- Decorative stickers or embellishments (optional)
Having all accoutrements ready will make the process smooth and easy.
Step 1 Measure and Cut the belting Paper
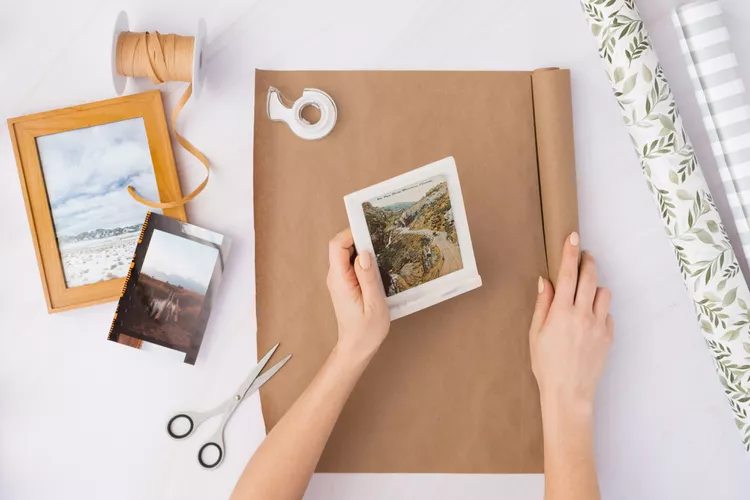
launch by determining the size of your gift bag grounded on the point you plan to place outside. The wrapping paper should be cut to a blockish shape where
- The range is roughly twice the range of your gift.
- The height is about 1.5 times the height of your gift.
For illustration, if your gift is 5 elevation wide and 8 elevation altitudinous, cut a piece of belting paper about 10 elevation wide and 12 elevation altitudinous.
Tips for Choosing belting Paper
- Thicker paper works best, as it holds its shape better and prevents tearing.
- still, consider buttressing it with a alternate subcaste, If using thin paper.
- Choose patterns and colors that match the occasion or theme.
- lustrous wrapping paper provides a more elegant look, while matte designs offer a rustic charm.
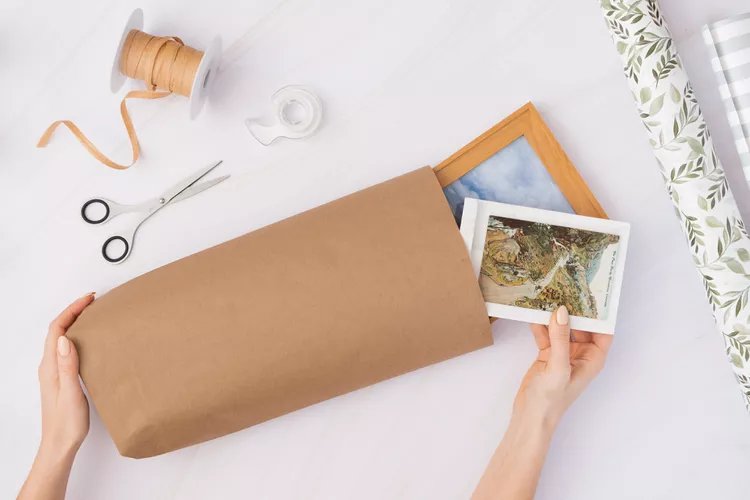
Step 2 produce the Body of the Bag
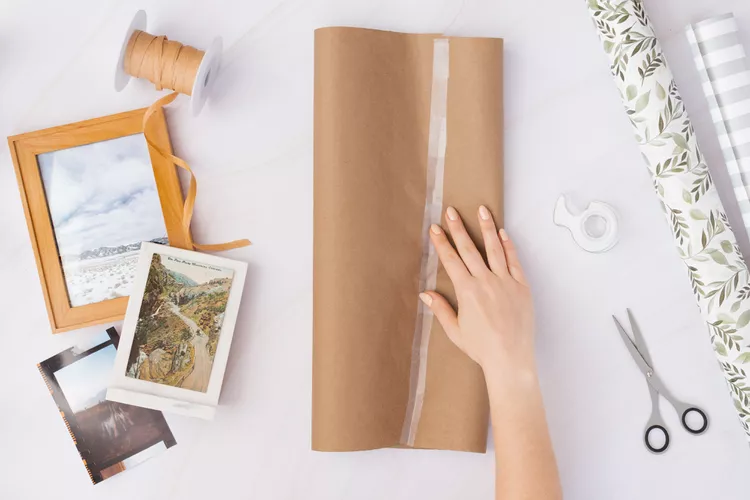
- Lay the wrapping paper flat with the ornamental side facing down.
- Fold the left and right edges toward the center so they slightly lap( about 1 inch) to form a tube.
- Secure the confluence with tape recording to keep the shape complete.
At this point, you have a cylinder- suchlike shape that will serve as the main body of your gift bag.
Alternative Sealing Methods
- Cohere can be used rather of tape recording for a cleaner finish.
- Double- sided tape recording hides the confluence for a more polished look.
- ornamental washi tape recording can add a fun design element.
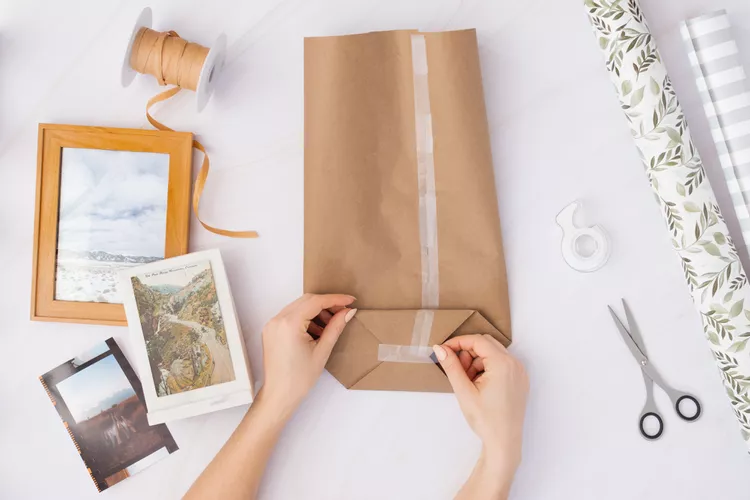
Step 3 Form the Bottom of the Bag
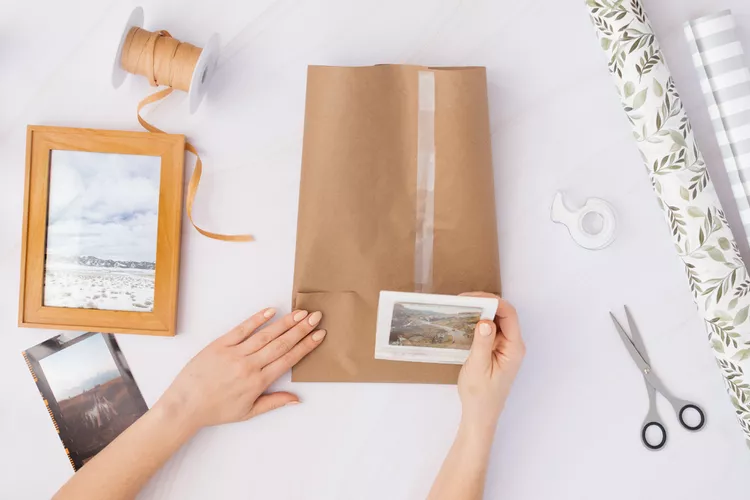
- Fold up the nethermost edge of the paper( about 2- 3 elevation, depending on bag size).
- Open the pack and press the sides inward to produce two triangular flaps.
- Fold the top and nethermost flaps inward so they lap.
- Tape recording the flaps securely to close the bottom of the bag.
This step ensures that the bag has a sturdy base to hold your gift.
Reinforcing the Bottom
- still, consider placing a piece of cardboard inside the bottom for more support, If the bag will hold a heavy point.
- Using clear quilting tape recording on the inside of the nethermost flaps adds continuity.
Step 4 Open and Shape the Bag

Precisely fit your hand inside the bag and gently push outward to shape it into a blockish form. Press along the crimps to make the sides more defined and help the bag stand upright.
Troubleshooting Common Issues
- still, support it with redundant layers of paper, If the bag is too flimsy.
- still, trim them with scissors for a neater finish, If the edges are uneven.
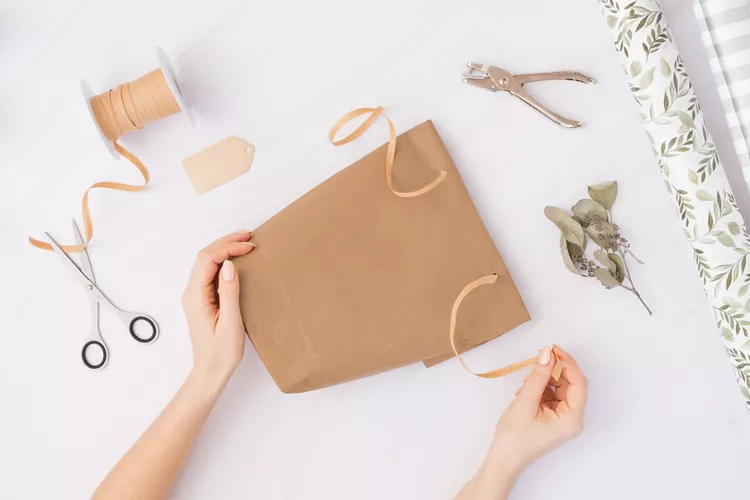
Step 5 Add Handles( Optional)
If you want to add handles to your bag
- Use a hole punch to make two holes on both sides near the top.
- Cut two pieces of strip or string, about 8- 10 elevation each.
- Thread the strip through the holes and tie knots on the inside to secure the handles.
Creative Handle Ideas
- Twisted paper handles for aneco-friendly option.
- Braided yarn or twine for a rustic look.
- Fabric strips for a soft and swish touch.
Step 6 Finish with Decorations
For a polished look, consider adding
- A folded top secured with a sticker or tape recording.
- Towel paper inside for a ornamental effect.
- Gift markers or embellishments for personalization.
- Stickers, prints, or stencils to produce unique designs.
Advanced ways and Variations
Making a Gift Bag with a Folded Top
- rather of using handles, simply fold the top over and secure it with tape recording or a sticker.
- Attach a wax seal or ornamental clip for an elegant touch.
Creating a Windowed Gift Bag
- Cut out a small window on the front of the bag.
- Attach a piece of clear plastic or cellophane to show the gift outside.
Themed Gift Bags for Special Occasions
- Holiday bags Use gleeful wrapping paper and add vacation stickers or shimmer.
- marriage gift bags Choose elegant gold or tableware paper with strip handles.
- kiddies’ party bags Use bright, delightful prints with character- themed embellishments.
Final studies
Making a gift bag out of wrapping paper is an easy, creative, and practical way to package presents. This DIY system allows you to customize the size, color, and design of your gift bag, making it a unique part of your gift donation. Coming time you need a bag, try this system and impress your musketeers and family with a handwrought touch!
Now you’re ready to produce your own custom gift bags! Happy casting! 🎁


